
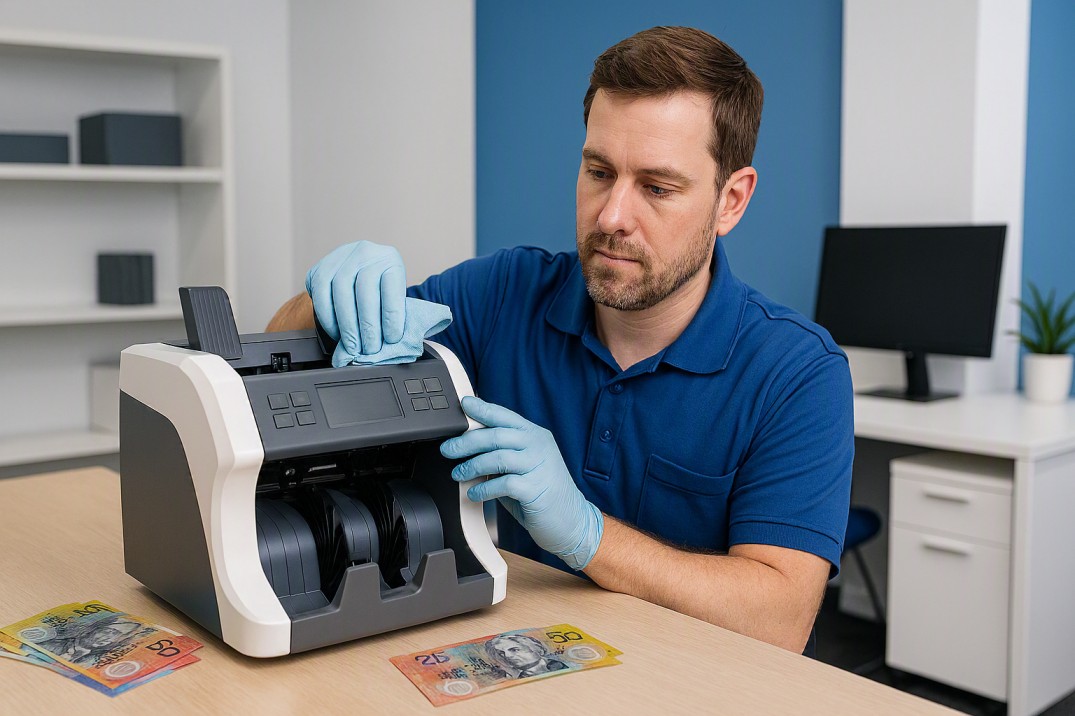
| 📋 Quick Answer
The maintenance routine that keeps most cash counting machines running accurately is simpler than most people expect: • After every session: clear the hopper and stacker, brush debris from the transport channel. • Weekly: wipe the sensor housing with a dry microfibre cloth, clean the exterior casing. • Monthly: run a cleaning card through the transport path, inspect rollers, test all counting modes. • Annually: book a professional service and calibration check. • Most premature machine failures and counting accuracy issues trace back to skipped cleaning — particularly dirty sensors. The full step-by-step routine is below. |
Why Cleaning and Maintenance Matter More Than You’d Think
A commercial cash counting machine processes hundreds or thousands of polymer notes every week. Australian polymer banknotes shed microscopic fibres, ink particles, and skin residue with every pass through the transport mechanism. Over time, this debris settles on the UV, MG, IR, and CIS sensor surfaces that the machine relies on to detect counterfeits and read denominations accurately.
The result isn’t always a dramatic fault — often it’s a slow, gradual drift: slightly higher reject rates, the occasional miscounted stack, a denomination that gets flagged more than it should. Staff adapt, assume it’s normal, and the machine continues operating at reduced accuracy until a more serious fault develops.
Regular cleaning prevents that drift from happening. It’s also the single most cost-effective thing you can do to extend the working life of the machine — a clean machine lasts significantly longer than a neglected one, and avoids the repair costs and downtime that come with sensor damage or roller wear caused by debris accumulation.
| 💡 A Day in the Life
A retail store manager notices their H110 has been flagging more notes than usual over the past two weeks — a stack of fifty notes is generating four or five rejects, all of which check out as genuine when inspected. The machine is still functional, but the closing count is taking longer because staff are manually checking every rejected note. Five minutes with a microfibre cloth on the sensor housing and a brush run through the transport channel later, the reject rate drops back to normal. The machine had simply accumulated enough polymer residue on the UV sensor to start generating borderline reads on worn notes. A weekly wipe would have prevented it entirely. |
What Causes Cash Counting Machine Degradation
Understanding what degrades a machine helps you know where to focus your maintenance effort:
- Polymer note residue: Australian polymer banknotes are durable, but they shed fine particles over time — particularly older, more worn notes. This residue is the primary cause of sensor contamination in everyday use.
- Environmental dust: Machines stored uncovered in warehouse, back-of-house, or retail environments accumulate airborne dust on sensor surfaces between uses.
- Humidity and temperature: High-humidity environments — kitchen-adjacent venues, poorly ventilated back offices — can affect the machine’s electronics over time. Condensation from a cold machine brought into a warm room can cause short-term counting anomalies.
- Roller wear: The transport rollers that feed notes through the mechanism wear gradually with use. Worn rollers increase double-feed rates and jams. This is a natural wear item that a professional service addresses.
- Foreign objects: Staples, paperclips, torn note fragments, and even small coins introduced into the hopper are the most common cause of sudden transport jams and roller damage.
What You Need for Regular Cleaning
You don’t need specialist equipment for day-to-day maintenance. Most of what you need is likely already in your business:
- Soft brush: the brush included with most Cashcom machines is the right tool for transport channel debris. A soft-bristle paintbrush works as a substitute.
- Dry microfibre cloths: for wiping sensor surfaces and the exterior casing. Lint-free is important — standard paper towel or cloth can leave fibres behind.
- Cleaning cards: pre-moistened cards designed to run through the transport path and clean the rollers. Available from Cashcom and most cash handling equipment suppliers. Use these monthly.
- Lightly damp cloth (for exterior only): a very lightly damp microfibre cloth can be used on the plastic casing. Never damp on sensors or internal components.
| ⚠️ Never Use These on Your Machine
• Solvents, alcohol, or chemical cleaning sprays — these damage sensor coatings and plastic components. • Compressed air directly on sensor surfaces — high-pressure air can drive debris further into sensor gaps rather than removing it. • Wet cloths or spray bottles near the machine — moisture and electronics do not mix. • Metal tools inside the transport channel — these scratch rollers and sensor housings. • Paper towel or standard cloth — fibres can contaminate sensors. |
Step-by-Step: How to Clean Your Cash Counting Machine
| Step 1: Power Off and Remove All Notes
Before cleaning, power the machine off completely and unplug it from the wall outlet. Remove any notes from the hopper, stacker, and reject pocket. Do not clean a powered or plugged-in machine. Take a moment to visually inspect the hopper and stacker areas for any foreign objects — staples, clips, or torn note fragments — before proceeding. 💡 Tip: Make this the first step in your closing procedure, not an afterthought. A machine that’s cleaned at the end of every session performs more consistently than one cleaned reactively when problems appear. |
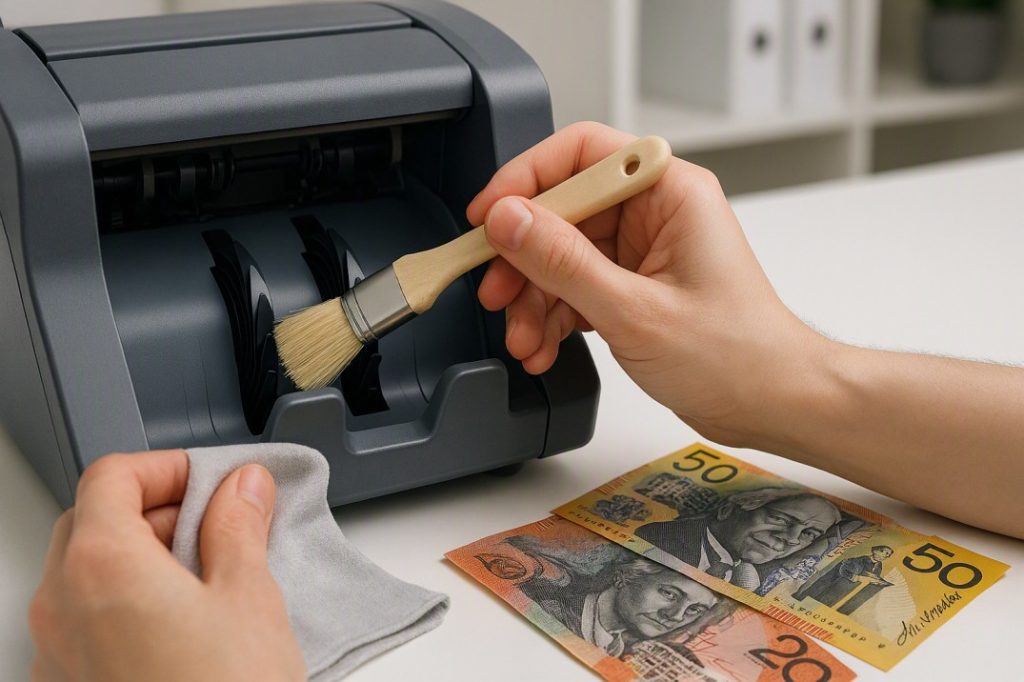
| Step 2: Brush the Transport Channel
Open the machine’s access panel or top cover to expose the transport channel — the pathway notes travel through from the hopper to the stacker. Using the supplied soft brush (or a clean soft-bristle brush): • Brush debris from the channel walls, the hopper entry point, and the stacker exit. • Brush around the sensor housing apertures — these are the small windows or slots where the UV, MG, IR, and CIS sensors read passing notes. • Tilt the machine gently to allow loose debris to fall clear rather than settling back onto surfaces. The LS-300’s vertical note path design is specifically engineered to let debris fall clear of the sensor array during operation — a genuine maintenance advantage that reduces how often this step is needed for high-volume users. 💡 Tip: Don’t rush the brush pass. Thirty seconds of thorough brushing after each session prevents the gradual debris build-up that causes sensor drift over weeks of use. |
| Step 3: Wipe Sensor Surfaces (Weekly)
Once per week — or more frequently in high-volume environments — wipe the sensor housing surfaces with a dry, lint-free microfibre cloth: • Gently wipe the UV sensor window — a small lens or aperture, usually marked in the transport channel or visible as a clear window. • Wipe the MG and IR sensor apertures in the same pass. • On machines with CIS sensors (H110, H210, K2), wipe the full-width CIS strip that runs across the transport channel — this is the component most affected by polymer residue from worn notes. Use a dry cloth, not a damp one, on sensor surfaces. If residue isn’t shifting with a dry cloth, a cloth very lightly moistened with distilled water (not tap water, not any chemical) is acceptable — wipe immediately followed by a dry pass. 💡 Tip: On the Cashcom H110, the Dual CIS sensors run the full width of the note path. A complete wipe of both CIS strips — not just the centre — ensures even cleaning across the full detection width. |
| Step 4: Run a Cleaning Card (Monthly)
Once per month, run a cleaning card through the transport path. Cleaning cards are pre-moistened with a solution designed to safely clean transport rollers — the rubber or foam components that grip and feed notes through the mechanism. • Insert the cleaning card into the hopper as you would a normal note. • Start the machine in COUNT mode and allow the card to pass through the full transport path. • Repeat with a second cleaning card if the machine processes a particularly high note volume. Cleaning cards are the only safe way to clean the transport rollers — the rollers are internal and inaccessible with a brush or cloth. Neglected rollers accumulate polymer residue that increases friction, raises double-feed rates, and accelerates wear. 💡 Tip: If cleaning cards aren’t immediately available, don’t substitute with anything else — skip the roller clean until cards arrive rather than using an improvised alternative that can damage the rollers. |
| Step 5: Inspect Rollers and Reject Mechanism (Monthly)
With the access panel open, visually inspect the transport rollers — the rubber or foam wheels visible in the transport channel: Glazed or shiny rollers: indicate polymer build-up that’s compressing the roller surface. Cleaning cards should address minor build-up; heavy glazing is a sign the rollers need professional replacement. Cracked or visibly worn rollers: a service item. Worn rollers increase double-feeds and jams regardless of how well you clean the rest of the machine. Reject mechanism: check that the gate or diverter that directs rejected notes to the reject pocket moves freely. A stiff or obstructed reject mechanism can cause rejected notes to misroute into the stacker instead of being separated. You don’t need to touch the rollers during inspection — visual check only. If rollers look worn, log it and book a service rather than attempting to replace them yourself. 💡 Tip: Photography is useful here — a photo of worn rollers taken during your monthly check gives a Cashcom technician a clear picture of the fault before the machine even comes in for service, often speeding up the repair. |
| Step 6: Test Counting Accuracy and Store Correctly (Monthly / As Needed)
After cleaning, run a test count with a known stack of notes — one you’ve counted manually — and confirm the machine result matches. This takes two minutes and confirms the clean has restored accuracy to the expected baseline. • Count a stack of 50 notes manually and record the value. • Run the same stack through the machine in VALUE mode. • If results don’t match, repeat the sensor clean and test again. • If results still don’t match after a second clean, note the discrepancy and contact Cashcom — this suggests a sensor calibration issue rather than a cleaning one. Storing the machine correctly between uses also contributes to longevity: Cover the machine: a simple dust cover (cloth or purpose-made) prevents airborne dust settling on the hopper and sensor areas between sessions. Stable, flat surface: away from air conditioning vents, direct sunlight, and kitchen-adjacent heat or humidity. No notes left in the hopper: don’t leave a loaded hopper overnight — notes left under the hopper’s weight can develop set creases that affect feeding. 💡 Tip: Labelling the test stack with a rubber band and a note (‘TEST STACK — 50 notes, $1,250’) keeps the verification quick and prevents staff from accidentally mixing the test notes back into the till. |
Maintenance Schedule at a Glance
Print this schedule and keep it with the machine as a reference for all staff who handle cash closing procedures.
| Task | After Each Use | Weekly | Monthly | Annually |
| Clear hopper and stacker of notes | ✅ | ✅ | ✅ | ✅ |
| Brush debris from transport channel | ✅ | ✅ | ✅ | ✅ |
| Wipe exterior casing | — | ✅ | ✅ | ✅ |
| Clean sensor housing (microfibre cloth) | — | ✅ | ✅ | ✅ |
| Run cleaning card through transport path | — | — | ✅ | ✅ |
| Inspect transport rollers for wear | — | — | ✅ | ✅ |
| Check and clear reject pocket mechanism | — | — | ✅ | ✅ |
| Test all counting modes for accuracy | — | — | ✅ | ✅ |
| Professional service and calibration check | — | — | — | ✅ |
Cleaning Do’s and Don’ts
| ✅ DO | ❌ DON’T |
| Use a soft brush for transport channel debris | Use solvents, alcohol, or chemical cleaners on sensors |
| Use a dry or lightly damp microfibre cloth on sensors | Use compressed air directly on sensor surfaces |
| Clean after every session in high-volume environments | Use wet cloths or spray liquids near the machine |
| Store the machine covered when not in use | Use metal tools inside the transport channel |
| Keep the machine on a flat, stable surface away from vents | Open the machine casing for internal repairs |
| Allow the machine to reach room temperature before use in cold environments | Run the machine in high-humidity or kitchen-adjacent environments without precaution |
| Log recurring issues for your service technician | Ignore a recurring error code — continuing risks further damage |
Model-Specific Maintenance Notes
Cashcom H110
The H110‘s Dual CIS sensors run the full width of the note path — wipe both CIS strips completely, not just the centre section, during weekly sensor cleaning. The 500-note hopper means high-volume users may be loading and unloading multiple times per session; brush the hopper entry point after each load cycle in busy environments.
Cashcom H210
The H210 has three output pockets — two sorted exits and one reject. Check all three pockets are clear and the diverter gates move freely as part of the monthly inspection. Debris in the diverter mechanism can cause notes to misroute between sorted and reject pockets.
Cashcom LS-200
The LS-200‘s 18-channel magnetic detection array runs the full note width. Ensure the brush pass covers the full width of the MG sensor apertures, not just the central section. At 1,500 notes per minute, the LS-200 accumulates debris faster than slower machines — consider a mid-session brush pass in very high-volume environments.
Cashcom LS-300
The LS-300‘s vertical note path is designed to let debris fall clear of the sensor array during operation — a meaningful maintenance advantage for all-day continuous use. The sensor cleaning interval can typically be extended compared to horizontal-path machines, but don’t skip the monthly cleaning card pass on the transport rollers.
Cashcom K2 Cash Recycler
The K2‘s 1,000-note hopper and recycling mechanism mean more note passages per session than a basic counter. The reject mechanism and denomination-sorting diverters should be included in the monthly inspection — more moving parts means more potential points for debris to accumulate. Given the K2’s role in actively dispensing cash, accuracy is especially important: run the monthly test count verification after every cleaning session, not just when problems arise.
| 💡 Quick Calculation
A professional service call for a cash counting machine with sensor damage caused by accumulated debris typically costs significantly more than the cleaning supplies needed to prevent it. A pack of cleaning cards costs under $20 and covers 12 monthly cleans. A dry microfibre cloth is under $5. The five minutes per session this routine takes across a 250-day trading year adds up to roughly 20 hours annually — a small investment compared to the cost and downtime of a repair job that preventive maintenance would have avoided. |
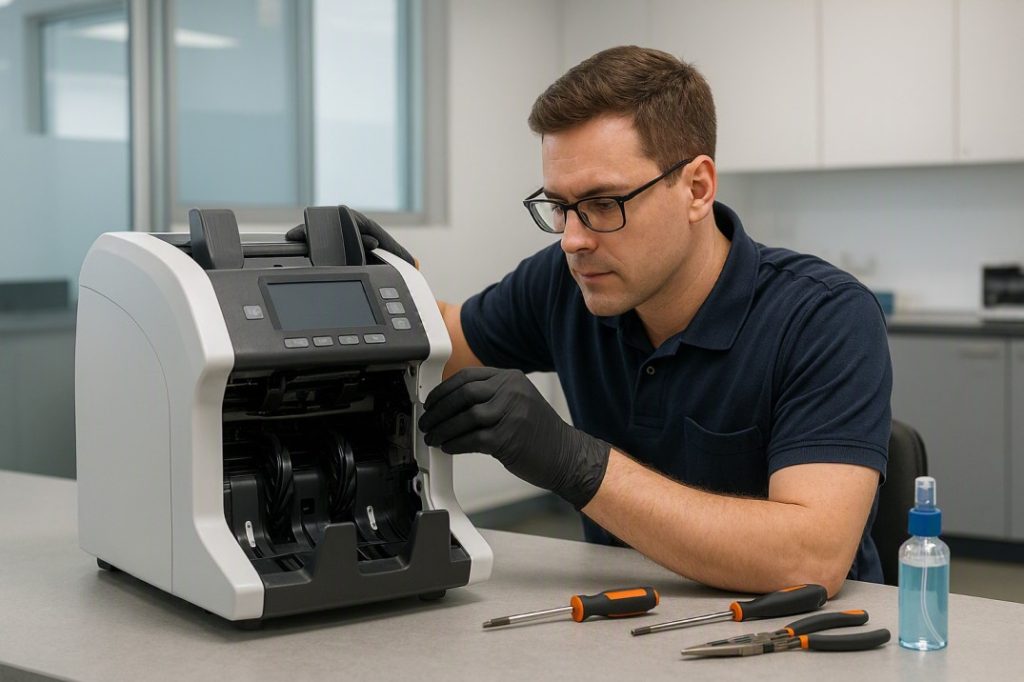
The Annual Professional Service: What’s Involved and Why It Matters
Regular self-maintenance keeps sensors clean and debris-free, but it doesn’t replace an annual professional service. A qualified technician covers things that aren’t accessible during a routine clean:
- Calibration check: sensors drift gradually over time — particularly in high-volume environments. A technician recalibrates detection sensitivity to the manufacturer’s specification, restoring the accuracy margin the machine had when new.
- Roller replacement: transport rollers are a wear item. A technician assesses roller condition and replaces worn rollers before they start causing double-feeds and jams.
- Internal debris removal: debris that bypasses the accessible transport channel and settles in the internal mechanism is cleared during a service.
- Firmware and currency updates: particularly relevant for machines counting AUD notes — a technician confirms the machine’s denomination recognition is current for any notes the Reserve Bank of Australia has updated.
- Connectivity check: LAN and USB connections are tested on machines using serial number logging or remote management features.
Cashcom provides professional servicing for the full machine range across Australia. For businesses in high-volume environments — gaming, large retail, banking — a six-monthly service interval is worth considering rather than waiting for the annual cycle.
| ⚠️ Signs Your Machine Needs a Service Now — Don’t Wait for the Annual
• Reject rate has increased noticeably and hasn’t improved after thorough sensor cleaning. • Count results are inconsistent across multiple runs on the same clean stack. • Error codes are recurring after power cycles and note checks. • Jams are happening regularly despite thorough note fanning and debris clearing. • Rollers look glazed, cracked, or visibly worn on the monthly inspection. • The machine is producing a grinding or scraping sound during operation. |
Frequently Asked Questions
| Question | Answer |
| How often should I clean my cash counting machine? | Brush the transport channel after every session, wipe sensor surfaces weekly, run a cleaning card monthly, and book a professional service annually. High-volume operations may need more frequent sensor wipes and a six-monthly service interval. |
| Can I use alcohol wipes to clean the sensors? | No. Alcohol and solvent-based products damage sensor coatings. Use a dry microfibre cloth for sensor surfaces, or a cloth very lightly moistened with distilled water if residue isn’t shifting with a dry wipe. |
| Why is my machine rejecting more notes after I cleaned it? | If reject rates increase immediately after a clean, the most likely cause is a microfibre fibre left on a sensor surface. Power off, wait for the machine to cool, and do a second dry-cloth wipe of the sensor housing. If the problem persists, contact Cashcom. |
| How long should a cash counting machine last with proper maintenance? | Commercial-grade machines like the Cashcom H110 and H210 are designed for years of daily commercial use. With regular cleaning and annual professional servicing, most machines significantly outlast cheaper consumer-grade alternatives that are not built for continuous daily use. |
| Can I clean the transport rollers myself? | The rollers are inside the machine and not safely accessible for manual cleaning. Use the cleaning card process described in Step 4 — cleaning cards are specifically designed to clean rollers safely. For worn or glazed rollers, a professional service is needed. |
| Do I need to clean more often if I process a lot of old or worn notes? | Yes. Older, more heavily worn polymer notes shed more residue per pass than newer notes. If your business regularly receives worn notes — from markets, gaming venues, or older circulation — increase sensor cleaning to twice weekly rather than once. |
Book a Professional Service or Ask Us a Question
If your machine is overdue for a professional service, or if regular cleaning hasn’t resolved an accuracy or reliability issue, Cashcom’s repair and maintenance team services the full range across Australia — with remote diagnosis available in many cases before the machine needs to come in.
Call: 0451 353 676 | Email: sales@cashcom.com.au | Web: cashcom.com.au
Also see: Cash Counting Machine Not Working? Common Problems and How to Fix Them — for troubleshooting specific faults beyond regular maintenance.
About the Author
This article was prepared by the Cashcom Team, Australian Cash Handling Specialists since 2015. Cashcom supplies and services cash counting, sorting and recycling equipment for retail, hospitality, banking, gaming and cash-in-transit businesses across Australia.
Get in touch: 181 Parramatta Rd, Haberfield NSW 2045 | 0451 353 676 | sales@cashcom.com.au | cashcom.com.au