
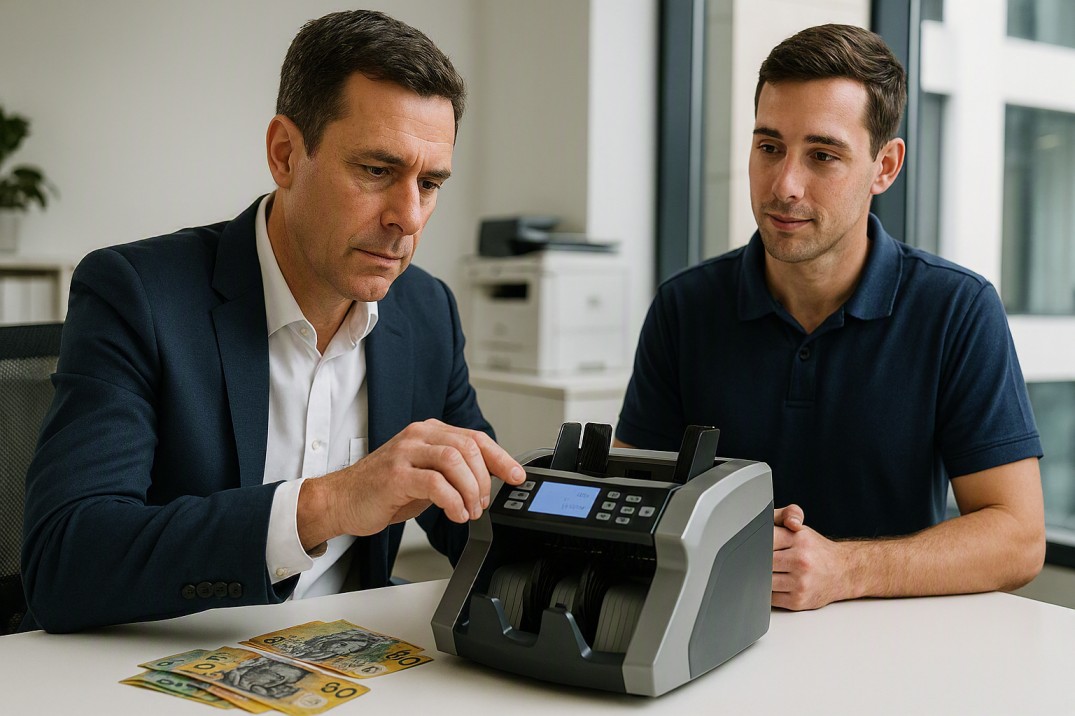
Why the DIY vs Professional Line Matters
When a cash counting machine develops a fault, the instinct for many business owners is to either try to fix it themselves — or to call a technician for everything, including problems that a two-minute self-fix would resolve. Both approaches carry real costs.
Attempting a repair that goes beyond safe user maintenance — particularly opening the machine casing to access internal components — risks voiding the warranty, causing secondary damage to the sensor array or transport mechanism, and turning a straightforward service job into a more expensive repair. On the other hand, waiting for a technician to fix a jam caused by an unfanned note stack means unnecessary downtime during what could be a busy trading period.
This guide draws the line clearly: here is what you can safely resolve yourself, here is what requires a qualified technician, and here is how to get a professional repair sorted as efficiently as possible in Australia.
| 💡 A Day in the Life
A venue manager’s H110 is displaying a JAM error code mid-count at 10:45 pm on a Friday. The options: spend five minutes clearing the jam and re-fanning the note stack — or call for a technician at after-hours rates for a problem that a user fix resolves in the time it takes to make a coffee. Two weeks later, the same machine starts producing inconsistent counts on clean stacks even after sensor cleaning. That one warrants a call — inconsistent accuracy despite a clean machine points to calibration drift, which is not a user-serviceable fault. |
What You Can Fix Yourself
The following faults are safe, appropriate, and quick for any staff member to address without tools or technical knowledge. None of these require opening the machine casing.
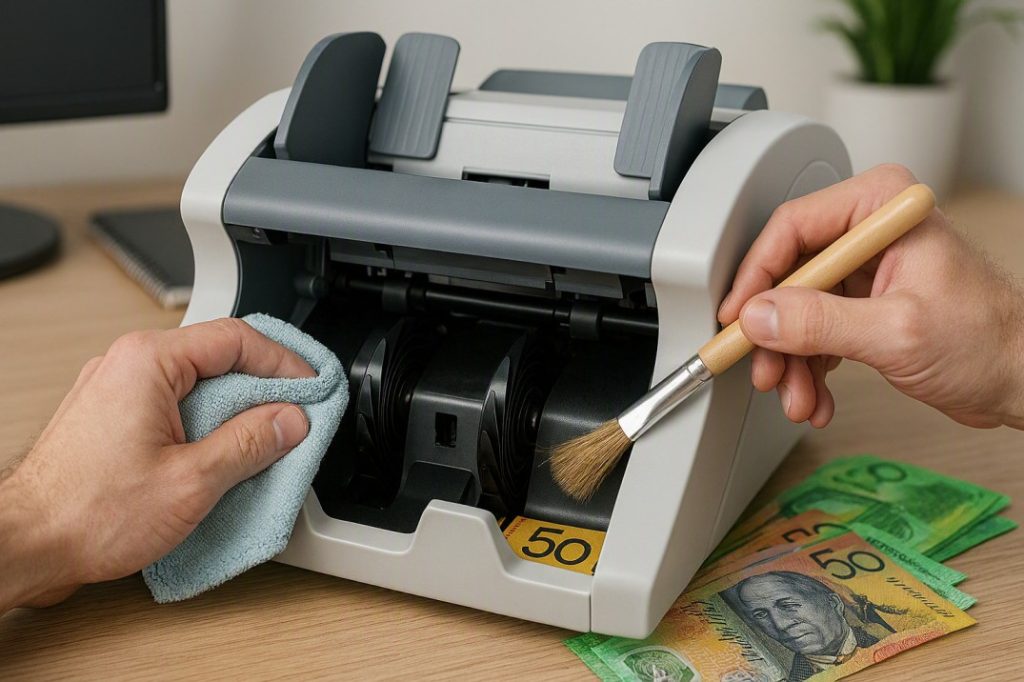
1. Note Jams
Open the access panel, carefully remove the jammed note without pulling against the transport rollers, brush any debris from the transport channel, and reload a freshly fanned note stack. This resolves the vast majority of JAM error codes. If the jam recurs immediately with a clean, well-fanned stack, stop and call for service — recurring jams on clean notes indicate a roller or transport fault.
2. False Rejects — Genuine Notes Being Flagged
Power off, wipe the sensor housing surfaces with a dry lint-free microfibre cloth, brush the transport channel, and retest. Dirty sensors — specifically polymer residue on UV, MG, IR, or CIS sensor surfaces — are the leading cause of elevated reject rates in machines that were previously working correctly. A thorough sensor clean resolves this in most cases.
3. Inaccurate Count Results
Re-fan the note stack thoroughly and confirm you’re using the correct counting mode for your task (VALUE mode for mixed-denomination totals, COUNT for note quantity). Run the same stack twice and compare. A consistent result across two runs points to a stack preparation issue; a different result each time points to a sensor or mechanism fault that needs professional attention.
4. Error Codes That Clear on Power Cycle
Power off completely, wait 10 seconds, and power back on. If the error clears and the machine counts accurately with a fresh, fanned stack, the error was transient — likely triggered by a borderline note or a momentary sensor read. If the same code appears again on the next counting session, log it and call for a service.
5. Wrong Counting Mode
Not a fault — a settings issue. If the machine is displaying a note count when you expect a dollar total (or vice versa), check the current mode setting. Switch to VALUE mode for mixed-denomination totalling, COUNT for note quantity, BATCH for preset bundle counting, or ADD for accumulating across multiple loads.
6. Machine Won’t Power On — Basic Checks
Check the power cable at both ends, test the outlet with another device, and check whether the model has a user-accessible rear fuse that may have blown after a power surge. These checks take two minutes and resolve a meaningful proportion of “won’t turn on” calls.
| ⚠️ The DIY Limit: Do Not Open the Casing
Every DIY fix above is external — it does not require removing screws, opening panels beyond the access cover, or touching internal components. The moment a fix requires access to the internal mechanism, wiring, sensor mounts, or roller assembly, it is no longer a user-serviceable repair. Opening the casing on a machine under warranty will void that warranty. On a machine out of warranty, an internal DIY attempt that causes secondary damage will cost more to fix than if the original fault had been professionally repaired from the start. |
What Needs a Professional
The following faults cannot be safely or effectively resolved without a qualified technician. Attempting DIY repairs on any of these risks worsening the fault and increasing the repair cost.
Worn or Glazed Transport Rollers
Transport rollers are the rubber or foam wheels that grip and feed notes through the mechanism. They wear gradually with use — glazing from polymer residue, surface cracking, or dimensional wear that reduces grip. Worn rollers increase double-feed rates, note jams, and counting inaccuracy. Roller replacement requires accessing the internal transport mechanism — a straightforward job for a technician, but not a user-serviceable task.
Sensor Calibration Drift
Sensors drift gradually over time, particularly in high-volume environments. Calibration drift means the machine’s detection thresholds have shifted from the manufacturer’s specification — it may start generating higher false reject rates, missing borderline counterfeits, or producing inconsistent denomination recognition. This is not resolvable by cleaning; it requires a technician to recalibrate the sensor array to specification.
Signs of calibration drift: reject rates that remain elevated after thorough cleaning, inconsistent count results on verified clean stacks, or denomination misidentification on notes the machine previously handled correctly.
Detection Accuracy Failure — Machine Passing Counterfeits
If a machine passes a note your bank has confirmed is counterfeit, or if detection accuracy has dropped noticeably below its previous baseline, this requires professional recalibration. Detection accuracy is not something to leave unresolved or to attempt adjusting through user settings — the risk exposure from an under-performing detection system is real and direct.
Mechanical Noise — Grinding, Scraping, or Clicking
Mechanical sounds during operation that don’t clear after debris removal indicate a physical fault inside the transport mechanism — a worn bearing, a damaged roller, debris lodged deeper than the accessible transport channel, or a diverter gate operating incorrectly. Power the machine off immediately when this sound appears and do not continue running it; mechanical faults worsen with continued operation.
Electrical and Display Faults
A machine that won’t power on after basic cable and fuse checks, or a display that remains blank or partially functional after a power cycle, has an internal electrical fault. These require a qualified technician with diagnostic equipment — do not attempt to trace electrical faults inside the casing.
Firmware and Currency Updates
Cashcom machines designed for AUD counting need their denomination recognition kept current as the Reserve Bank of Australia updates banknote series. Firmware updates are technician-administered — not a user-accessible process on commercial-grade machines. If your machine is misidentifying a current AUD note denomination, or if the RBA has released a new note series since your machine’s last service, a firmware update is likely needed.
Annual Calibration and Preventive Service
Even a machine that appears to be working correctly benefits from an annual professional service: calibration check, roller inspection and replacement, internal debris removal, firmware currency confirmation, and a full accuracy test across all counting modes. This is the repair scenario with the lowest cost and highest return — catching wear before it causes a fault is always cheaper than fixing one.
DIY vs Professional: Full Decision Table
Use this table to assess any fault quickly. The third column indicates when a professional service is needed even if a DIY fix was attempted first.
| Fault / Symptom | DIY Fix? | Professional Service? |
| Notes jamming (after fanning) | ✅ Yes — clear jam, brush channel | If recurring after fix |
| False rejects — genuine notes flagged | ✅ Yes — clean sensors | If persists after cleaning |
| Inaccurate count result | ✅ Yes — re-fan, check mode, clean | If inconsistent across runs |
| Error code — clears on power cycle | ✅ Yes — power cycle, reload | If code recurs immediately |
| Wrong counting mode | ✅ Yes — change mode setting | Never needed |
| Machine won’t power on | ✅ Check cable, outlet, fuse | If still dead after checks |
| Blank or partial display | ✅ Power cycle only | If persists after power cycle |
| Rollers worn or glazed | ❌ No | ✅ Yes — roller replacement |
| Sensor calibration drift | ❌ No | ✅ Yes — recalibration |
| Machine accepts counterfeits after cleaning | ❌ No | ✅ Yes — detection recalibration |
| Grinding / mechanical noise | ❌ No — power off immediately | ✅ Yes — mechanical inspection |
| Internal electrical fault | ❌ No — do not open casing | ✅ Yes — qualified technician |
| Firmware / currency update needed | ❌ No | ✅ Yes — technician-administered |
| Annual service and calibration | ❌ No | ✅ Yes — scheduled service |
The Real Cost of Getting This Wrong
The most expensive repair outcome is not the professional service call — it’s the DIY attempt that creates secondary damage, or the fault that’s ignored until it causes a more serious failure. The table below puts the likely outcomes in order.
| Scenario | Typical Outcome | Cost Implication |
| DIY fix resolves the fault | Machine back in service same session | Nil — cleaning supplies only |
| DIY attempted, fault not resolved, professional called | Slight delay, but professional fixes from baseline | Service call cost only |
| DIY attempted, casing opened, internal damage caused | Fault worsened; additional repair needed | Service cost + parts for secondary damage |
| Fault ignored, machine continues running | Accuracy degrades further; harder to diagnose | Higher repair cost; potential cash handling losses |
| Professional service booked promptly | Fast diagnosis, correct fix first time | Service call cost — typically the lowest outcome |
| Preventive annual service (no fault present) | Calibration maintained, rollers checked, firmware current | Lowest long-term cost; avoids reactive repairs |
| 💡 Quick Calculation
A cash counting machine producing inaccurate counts costs more than a service call in a different way: a $20 counting error per day across a six-day trading week adds up to over $6,000 in undetected cash discrepancies per year — before accounting for any counterfeits that passed through undetected. The cost of a professional calibration service is a fraction of that exposure. |
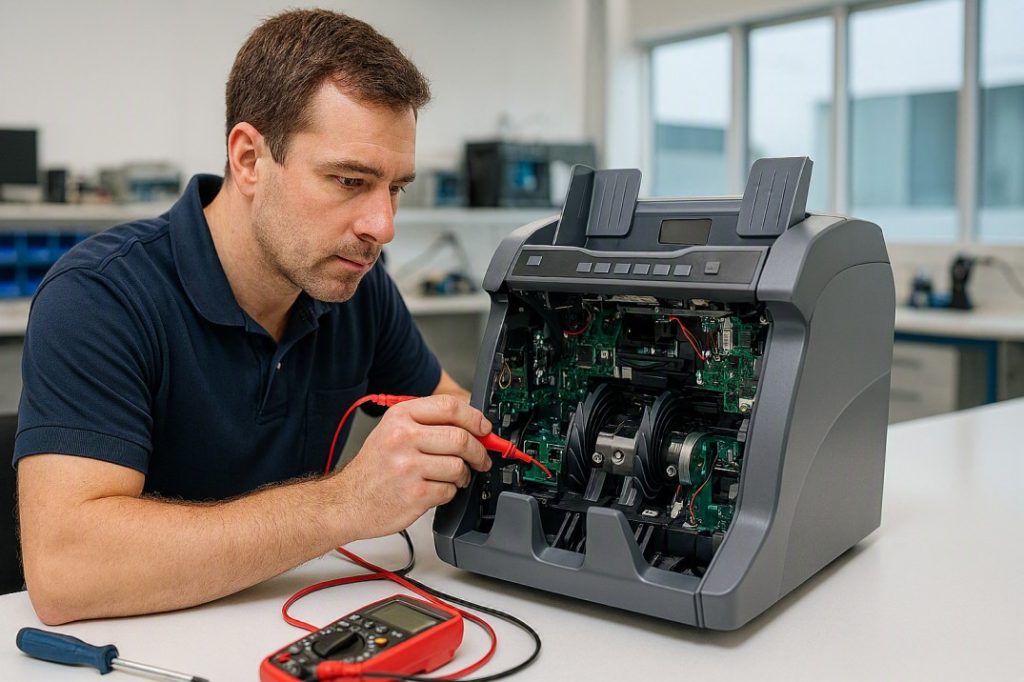
How to Get a Cash Counting Machine Repaired in Australia
For Australian businesses, the practical challenge with professional repairs has historically been turnaround time — particularly for businesses outside major cities, where shipping a machine to a service centre can mean days of downtime.
Remote Diagnosis First
Cashcom offers remote diagnosis before a machine needs to come in for a physical service. In many cases, a phone or email consultation with the service team can identify whether the fault is user-resolvable or narrow down the likely hardware cause so the physical service is faster when the machine does come in. This is worth doing before shipping anything.
What to Have Ready When You Call
Getting a diagnosis and repair sorted faster starts with having the right information prepared:
- Machine model: H110, H210, LS-200, LS-300, K2 Cash Recycler, or other.
- Error codes: photograph the display when the code appears — the exact code matters for diagnosis.
- Fault log: when the problem started, what you’ve already tried, whether the fault is consistent or intermittent.
- Purchase details: date of purchase and whether the machine is within its warranty period — this affects how the repair is handled and who bears the cost.
- Volume context: roughly how many notes per day the machine processes — this helps the technician assess likely wear levels.
Warranty Repairs
Machines within their warranty period that develop hardware faults are covered for parts and labour under the warranty terms — provided the fault was not caused by user mishandling, liquid damage, or an attempted DIY internal repair. Keep your purchase documentation and do not open the casing on a machine you intend to submit for a warranty claim.
Out-of-Warranty Repairs
For machines outside warranty, Cashcom provides fee-for-service repair and calibration across the full range. In most cases, repairing a quality commercial machine is more cost-effective than replacing it — particularly for models like the H110, H210, LS-200, and LS-300 that are built for long service lives with proper maintenance.
| ⚠️ Our Honest Assessment
The businesses that get the most out of their cash counting machines are the ones that treat maintenance as a routine rather than a reaction. A machine that gets its sensors cleaned weekly, a cleaning card run through it monthly, and a professional service annually will outlast and outperform a machine that only gets attention when something goes wrong. The DIY fixes in this guide are quick, effective, and appropriate — but they work best as part of a regular maintenance routine, not as the entirety of one. |
Signs You Need to Act Now — Don’t Wait for the Annual Service
- Error codes recur immediately after a power cycle and note check.
- Count results are inconsistent across multiple runs on the same clean stack.
- Reject rate remains elevated after thorough sensor cleaning.
- Machine passes a note your bank has confirmed is counterfeit.
- Grinding, scraping, or clicking sounds appear during operation.
- Rollers appear glazed, cracked, or worn on visual inspection.
- Display is blank or partially functional after a power cycle.
- Machine won’t power on after checking cable, outlet, and fuse.
If any of the above apply, contact Cashcom on 0451 353 676 — don’t continue running the machine and risk worsening the fault or producing inaccurate counts you don’t catch.
Frequently Asked Questions
| Question | Answer |
| Can I repair my cash counting machine myself? | User-level fixes — clearing jams, cleaning sensors, power cycling, checking cables — are safe and appropriate. Opening the machine casing, adjusting internal components, or attempting electrical repairs is not recommended and risks voiding your warranty and causing secondary damage. |
| How much does cash counting machine repair cost in Australia? | Repair costs vary by fault type and model. Remote diagnosis is often possible before a machine needs to come in for a physical service. Contact Cashcom on 0451 353 676 for a current assessment based on your model and the fault you’re experiencing. |
| Will repairing my machine void the warranty? | User-level maintenance (cleaning, jam clearing, cable checks) does not affect warranty. Opening the casing or attempting internal repairs on a machine within its warranty period will typically void the warranty. Always check warranty terms before attempting anything beyond external maintenance. |
| How long does a professional cash counting machine repair take in Australia? | Many common faults are diagnosable remotely, which can resolve the issue without the machine needing to come in at all. For physical repairs, turnaround time depends on the fault and parts availability — contact Cashcom for a current estimate. |
| Is it worth repairing an old cash counting machine or should I replace it? | For commercial-grade machines like the Cashcom H110, H210, LS-200, and LS-300 that have been well maintained, repair is usually more cost-effective than replacement. If a machine is very old, was purchased as a budget consumer model, or has multiple concurrent faults, replacement may be the more economical choice — the Cashcom team can advise based on your specific model. |
| What should I do if my machine is making a grinding noise? | Power off immediately. Do not continue running the machine. Open the access panel and check the transport channel for debris or foreign objects. If nothing is visible and the noise recurs on power-on, contact Cashcom for a service — mechanical sounds that don’t clear after debris removal indicate an internal fault that worsens with continued operation. |
Book a Repair or Get a Remote Diagnosis
Cashcom’s repair and maintenance team services the full range of cash counting, sorting, and recycling equipment across Australia. Remote diagnosis is available in many cases — contact us before shipping the machine, and we’ll advise on the most efficient path to getting it back in service.
Call: 0451 353 676 | Email: sales@cashcom.com.au | Web: cashcom.com.au
Also see: Cash Counting Machine Not Working? Common Problems and How to Fix Them — for step-by-step guidance on user-resolvable faults before calling for service.
And: How to Clean and Maintain Your Cash Counting Machine — for the regular maintenance routine that prevents most faults from developing in the first place.
About the Author
This article was prepared by the Cashcom Team, Australian Cash Handling Specialists since 2015. Cashcom supplies and services cash counting, sorting and recycling equipment for retail, hospitality, banking, gaming and cash-in-transit businesses across Australia.
Get in touch: 181 Parramatta Rd, Haberfield NSW 2045 | 0451 353 676 | sales@cashcom.com.au | cashcom.com.au